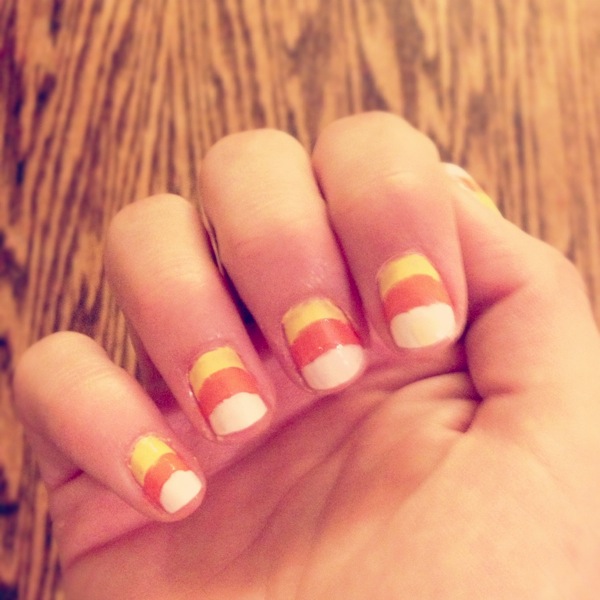
Meg: Spooky Manicure
I want to begin this post by saying that this manicure was a partial fail on my part. It still looks totally cute and I’ve been getting boat loads of compliments, it just wasn’t as successful as I had hoped. Here’s why:
1) I bought 99 cent polish and…you get what you pay for.
2) I didn’t let one layer of polish dry before doing the next layer (because I’m impatient).
3) Painting your own right hand is hard.
Disregarding some rookie flaws, I feel SO festive! I’ve been known to be a little over the top when it comes to holidays, and Halloween is no exception 😉
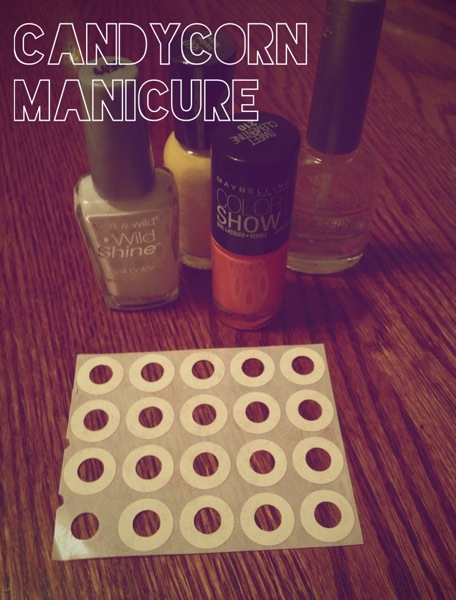
If you can swing it, I recommend spending the $4 or $5 on a quick drying nail polish for this manicure. You’ll need orange, yellow, white, and a clear coat. Don’t forget the paper hole protectors!
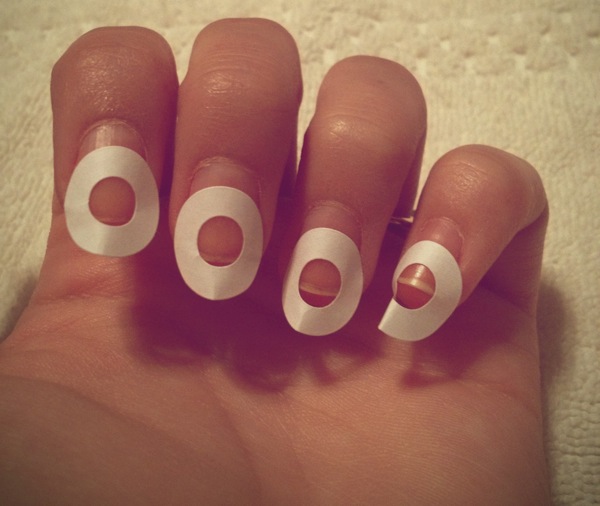
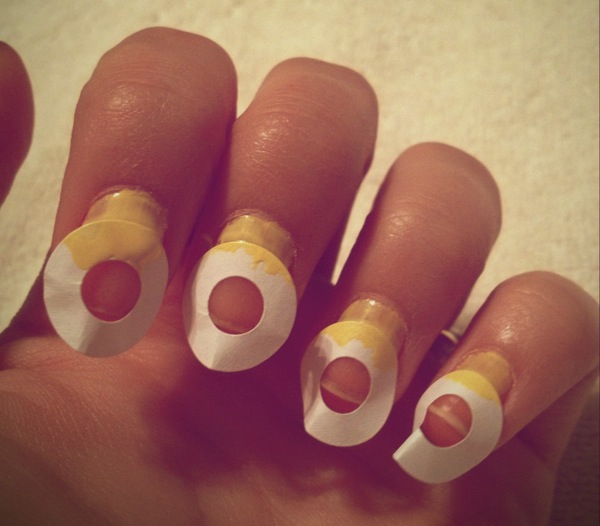
Place the stickers on your nails about 1/3 of the way from the bottom. This will mark your first layer—I used yellow, but feel free to go the other way and start with white!
Since I bought cheaper polish, the consistency was not good, thus causing some goopy mess. Do your coats thin enough so they dry quickly. When your yellow layer is fully dry, peel off the sticker. You should have a nice clean line (if you don’t, you’re painting orange over it anyway).
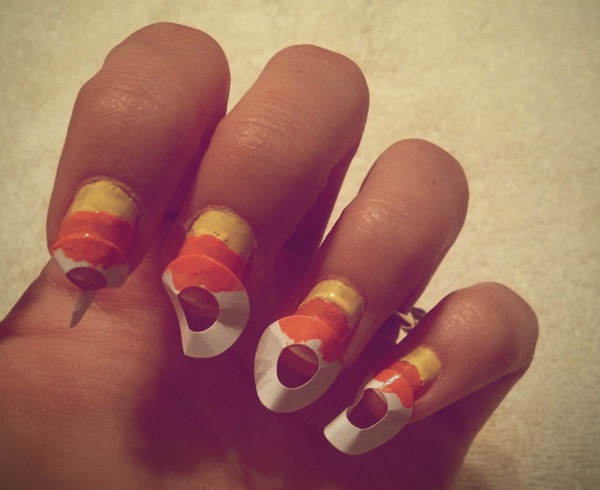
Repeat the process with the orange. You may need someone to help you with your dominant hand J Again, wait until your orange is dry enough to not smear and remove the sticker.
No sticker needed for the white layer! Just carefully fill in the remaining space to the top of your nail. I went ahead and sealed everything off with a clear coat.
BOOM, Gloriously festive candy corn fingernails! I will still need some practice before I get it to look perfect, but it’s a start.
If you attempt this mani, I’d LOVE to see it! Email me a picture to withasentimentalheart@gmail.com so I can give you a shout out J
Do you enjoy getting festive for the holidays?
Xo-Meg



Cute idea!!!
I’ve seen it floating around Pinterest and I’ve been dying to try it! I love being festive, especially when it comes to Halloween.
This is so cute!
Cute idea! Perfect for Halloween 😀
—
Reading via the NuffnangX app. Keep up with your favorite bloggers on the go!
Too. Cute. I love the idea of using the paper reinforcers.
So cute! I can’t wait to try!
this is so cute. You did a much better job than I could have done.
Love it!
Great idea! My daughter would love this!
They’re cute Meg!
Tip: paint the entire nail yellow, let it dry. Use the stickers to cover the part of the nail closest to the cuticle, paint the rest orange, let it dry. Cover the orange, paint the tips white. It may take longer, but the results would be much cleaner! Good idea though with the candy corn colors