DIY: Wire headbands
I’m really excited to bring you guys a very special guest post from one of my good friends and future sister-in-law: Meg! Meg is quite the little fashionista –she’s an amazing shopping buddy- and writes over at With a Sentimental Heart. She and my bro recently started a blog to chronicle their wedding adventures, too: Tying the Nott.
Enjoy! <3
_____________________________________________________________________________________
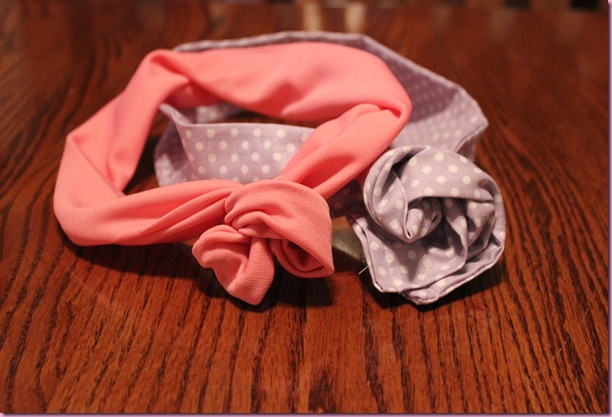
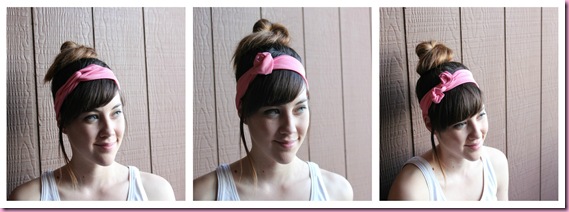
Hi everyone, I’m so happy to be doing a fashion post for Gina! I decided to share a Spring DIY with you inspired by one of my new favorite fashion accessories: wire headbands. I originally paid $14 to buy one, but realized that making one would be fairly simple. Not only do they help style your hair, they add something fun to any outfit. When I’m feeling rushed in the morning, these make for an easy, yet styled ‘do! Total cost of this project: around $6 and it will make a couple headbands.
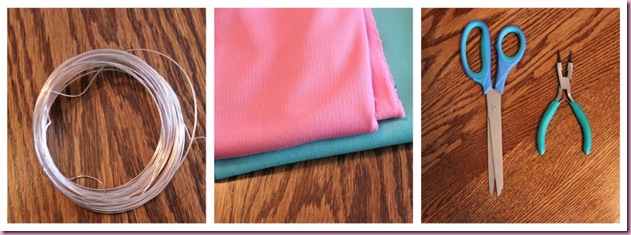
What you’ll need:
Jewelry wire-I used 22 gauge, Fabric- You can use any fabric, but I went with a soft and light material, Scissors/Wire cutter, Sewing supplies.
I decided to use a sewing machine to speed things along, though a needle and thread works just fine.
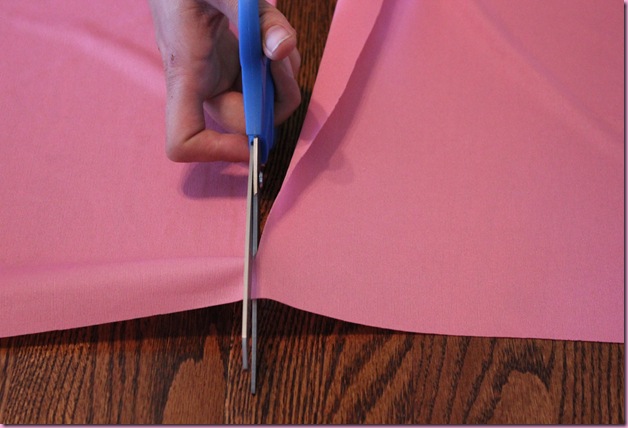
Step 1: measure the length you’d like your headband to be and cut the fabric. Mine wraps around my entire head with about 3 inches of material to spare on each end.
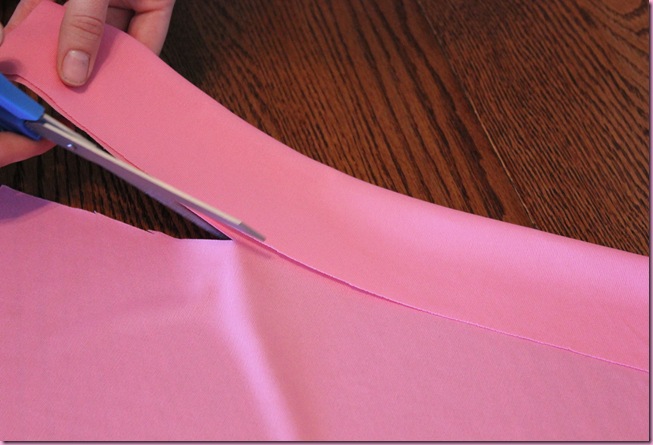
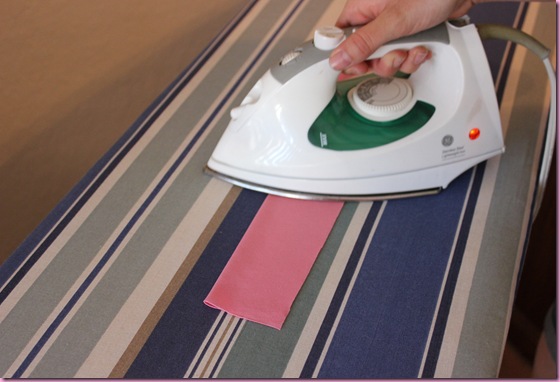
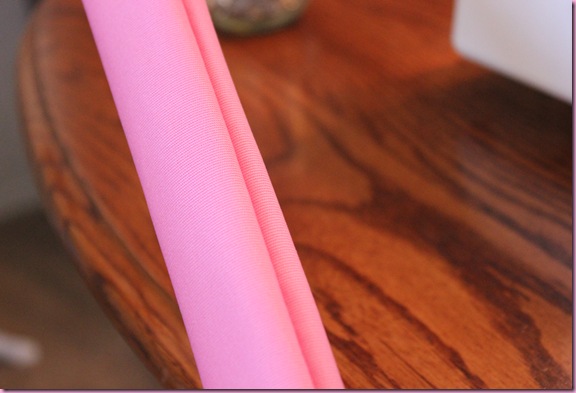
Step 2: Fold your fabric to the width you’d like the headband to be and cut the excess fabric (keep in mind you’ll need about ¼ of an inch for the seam). At this point, I ironed the strip flat so it was easier to work with.
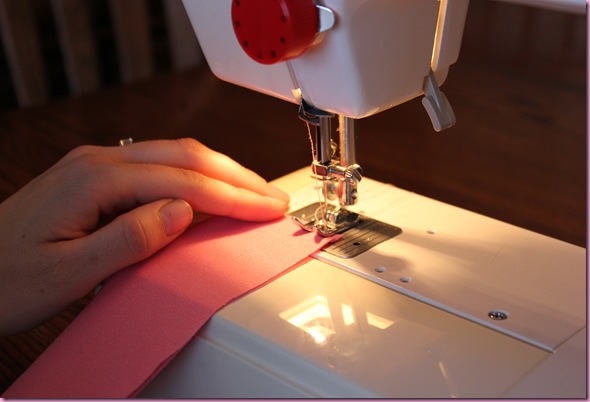
Step 3: Sew the open sides together, from end to end. This will create somewhat of a fabric tube. If your fabric has print on only one side, sew the tube print side in.
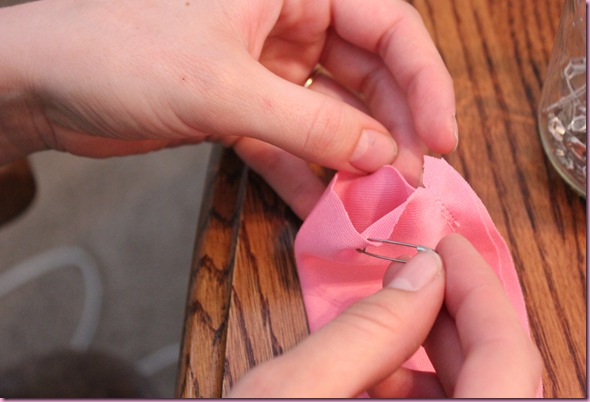
Step 4: Fasten a safety pin to the end of your fabric tube (but only through one side of the fabric) and feed the pin through so your headband is turned print side out. Iron the tube flat again so it’s easier to work with.
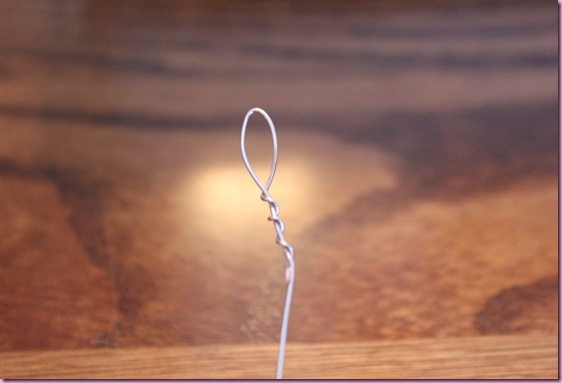
Step 5: Take your wire and loop the end, and make sure the wire isn’t poking out anywhere. Measure the wire to the length of the headband. Cut with the wire cutters and loop the second end as well.
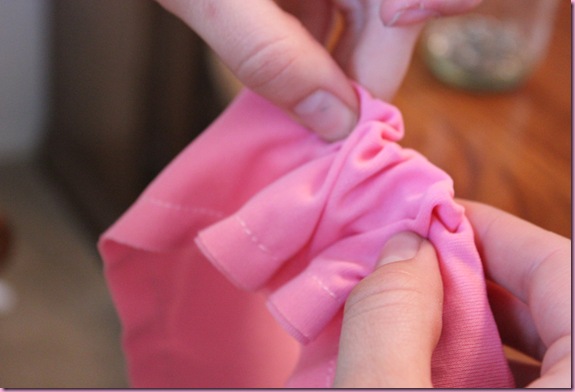
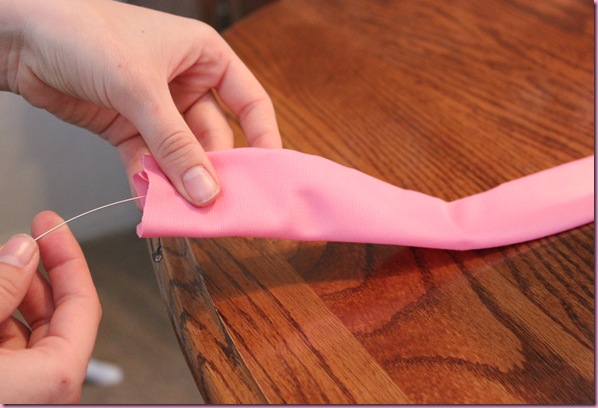
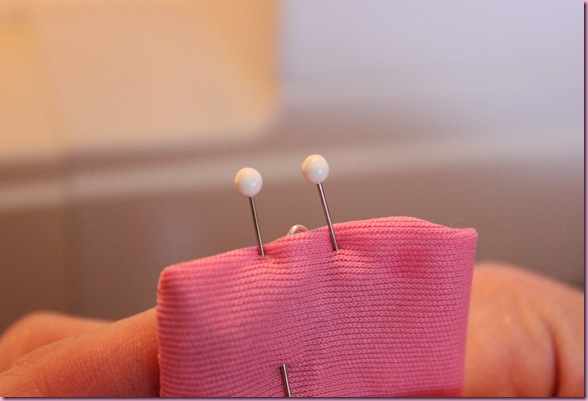
Step 6: Feed the wire through the tube and sew the ends one at a time. Be sure you’re sewing the wire loop into the fabric. If the wire isn’t secure, it’ll be much harder to wear the headband. I used two pins to secure the loop while I sewed it.
Step 7: Style and wear! Pair it with a dress and wedges on Easter Sunday, or wear it on the weekends with your favorite tee.
Thanks for reading and please leave me a link if you decide to make your own. I’d love to see how they turn out!






that is way cool!!!
Unfortunately, I cannot sew, but I will so give the link to this post to my mom, so she can make this for me.
You look gorgeous with that headband!
Cute! I always make headbands with old scarfs, great idea 😉
OMG how adorable! Meg is seriously a beautiful fashionista! Nice to meet you Meg and congrats on your upcoming wedding! Wedding planning is such a fun time but has its moments! Enjoy every single minute of it!
Love the headband, especially because its pink!
You and Meg are both super cute 🙂
I LOVE the first headband in the pictures at the bottom of the post. Do you have an Etsy store? Seriously!
So crafty and adorable!
Love it!!!
Must . get . a . sewing . machine. I’m such a failure as a woman.
Don’t worry, my Mom had to walk me through the sewing… 🙂
<3- Meg
What an adorable idea! I love it- will definitely have to try this one for myself.
Meg, how do you sew the ends of the tube? Do you fold the fabric in and make a stitch on the outside?
Yep! Fold the ends in, make sure the loop lines up with the end, and stitch the outside!
Thanks! I can’t wait to bust out my sewing machine and make one of these!
This is so cool, and cute!! I love it!! 🙂
Thanks for sharing Meg!
Ana
These headbands are so cute! Thanks so much for sharing! I need to get crafty one of these days and try making them!
Really cute idea. If I could only steal my sewing machine back from my step-mom! 🙂
This is such a cool idea! Thanks for sharing, Meg (and congrats on your upcoming wedding)!
Such a cute idea!!! Love it! Thanks for sharing 🙂
These are so cute! I’m not crafty at all, but these look easy enough that I think even I could make one! 😀
These are great. I really want to get a sewing machine, but I am about to travel for awhile so it will have to wait until I get back. These would be great travel headbands. Thanks for sharing.
So cute!! I love headbands: you just wash your bangs and stick on a headband and voila! it looks like you washed your hair.
I’ve seen these before but they cost so much. i am excited to make some on my own! Thanks for the idea.