Meg: Ombre Nails
Hey everyone! A while back I asked if there was anything in particular you guys would like to see on the fashion page. I got some wonderful responses, many of which mentioned nails! I love a good mani and since leaving Sbux, I’m officially allowed to wear polish!
So, I’m basically obsessed with all things ombre. As you may know, my hair is currently ombre…
So when I saw a DIY ombre nail tutorial over at The Beauty Department, I knew I had to try it! It’s really simple, and took me about 15 min to complete.
What you’ll need:
-3 or more nail polishes of the same color family
-Make up sponge
-Q-Tips
-Nail Polish remover
-Top Coat
Step 1: Paint 1/8” stripes across the make up sponge and dap on a piece of paper (to slightly blend the colors)
Step 2: Line up the darkest color stripe to the top of your nail, and rock back and forth. Try to line up the colors each time so you don’t end up with a blob of color.
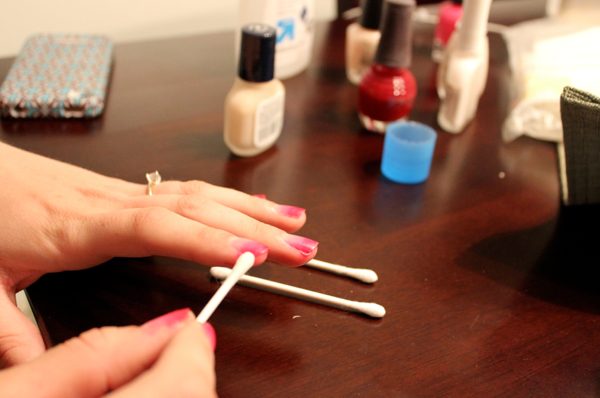
Step 3: Since the nail polish will likely get on your skin surrounding the nail, you will want to dip a Q-tip in nail polish remover and clean up the edges.
Step 4: Give your ombre time to dry! Then, seal it off with a topcoat to make it shine.
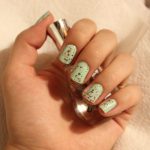
Finished product:
What do you think? I look forward to trying this mani with many other color gradients!
-Meg


I saw this feature and was tempted to try it, too! Love all your pink selections!
What an awesome idea!
That is awesome! I never thought to try it. I am so happy you joined the fitnessista family Meg!!!!!! I love your posts and both of your blogs!
Thank you so much! <3
You’re a genius!
So cute!
This is so pretty! I want to try it.
ooh this looks pretty easy! I bet you could tape up your nails to make it easier clean up for around your nails too.
Such a good idea!
15 minutes is not bad for such beautiful looking nails!!I have to try it over the weekend!
This is so cool!!!!! Will definitely be doing this when I change my nails up. Right now I’m rocking the faux French manicure with silver sparkles on the tips instead! It was an easy DIY too :)!
I love your hair!
Very cool!
Wow I never would have thought to use a spOnge for your nails! So clever!
Aww what a cute idea! they look super, i’m gonna have to try this!
What an awesome technique. LOVE how pretty your nails look!
Thank you for doing this tutorial! I keep seeing it on Pinterest but it seems more messy than it is worth. Can’t wait to try this!