Meg: Holiday Yarn Wreaths
To say I’m excited for the holiday season is an extreme understatement. October is always a fun month filled with various birthdays, horror films, and Halloween festivities, but the moment November arrives, the world just seems a little brighter to me. Yes, I burn my Bath & Bodyworks Twisted Peppermint candle and squeal with joy when I see Christmas commercials on TV…so what?
With Tucson’s weather FINALLY changing, it is time to think about turkey and the gifts you will give your loved ones. I posted last time about some great stocking stuffer ideas, which were all relatively cheap! While buying gifts is one of my favorite things to do, making them always adds a special sentiment.
One of my favorite gifts to give, whether it be a ‘thank you’ gift for the host/hostess of Thanksgiving this year or a holiday gift for a loved one, is a Holiday Yarn Wreath.
I did a tutorial on my blog last year, but I knew this was something I had to share with you lovely Fitnessista readers! Here’s what you’ll need:
Hay wreaths can be found at any craft store. I found the smaller one Goodwill. Keep the plastic on the wreath or you will find yourself battling hay the throughout the entire process.
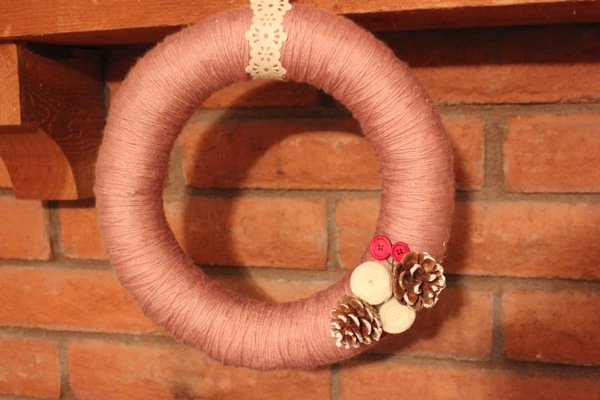
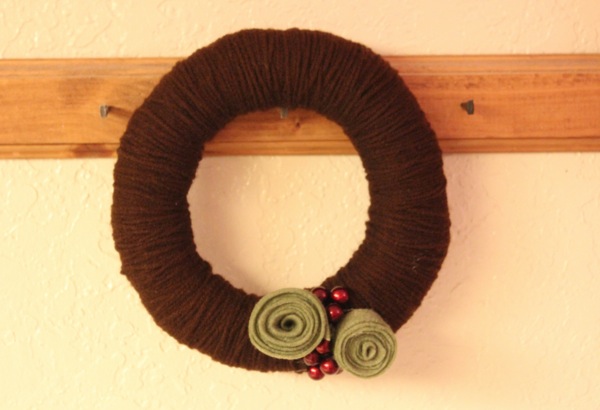
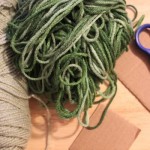
Yarn. Experiment with different colors and thickness. I chose a pretty frosty pink/purple and brown as my wreath colors.
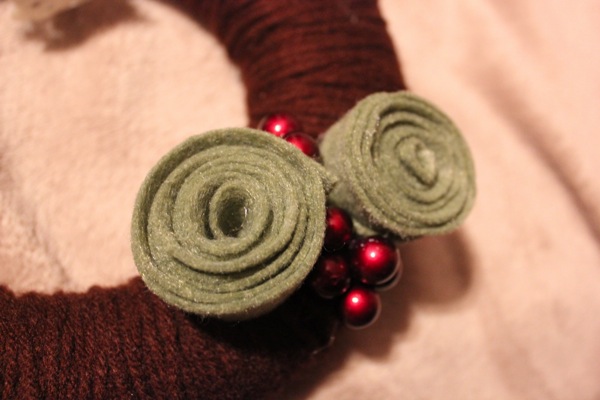
Go to a craft store and pick out various decorations for your wreath. You can even use twigs or pinecones from your yard, if you’d like! I went with buttons, pinecones (mine are fake), some holiday berries, and felt flowers.
If you roll with felt flowers, get a few felt squares (found at any fabric or craft store).
Other things you may need include scissors and a hot glue gun.
The part that truly takes patience with this craft is wrapping the yarn around your wreath. It can be time consuming, and you want to be careful to fill any gaps that show the hay underneath. I recommend you pop in Breakfast at Tiffany’s (or any other movie will do I suppose) and start wrapping!
You’ll want to tie a knot to secure the yarn before you begin.
Once you’ve wrapped your wreath(s), plug in your hot glue gun and prep your felt flowers. You’ll want to cut circles out of the felt squares first. Then, take your scissors and begin to cut a 1” swirl all the way to the center of the circle.
Starting at either end, begin rolling the felt inward, creating a flower. Cut when the flower reaches a thickness you like and hot glue the end so it stays together. Repeat until you have all of the flowers you will need.
At this point, decorate your wreath any way you’d like using whatever you’d like!
I fastened a patterned ribbon onto the big wreath so it can hang on the front door.
Now your friends and family can enjoy a gorgeous keepsake from their favorite person 🙂
Do you like receiving homemade gifts from others? I know I do! Be sure email me a picture of your wreath if you make one, I’d love to post it on my blog! (withasentimentalheart@gmail.com)
Xo-Meg









I made one of these last October when we had a freak snowstorm in October. I love the colors you chose, so pretty!
I just started brainstorming ideas for holiday diy decorations also! It gets so expensive buying everything from the store, and makin it yourself is a lot more fun
cute idea!!! I’ve been thinking about doing homemade gifts for the grandparents this year. I like this one!
I love this idea! I am going to make one for Christmas!
SO gorgeous, and it looks actually do-able! I think I’ll give it a try, I love the simple design!
I love this idea, I’ll definitely have to make one of these! I love diy decorations.
another SUPER cute project—looks so nice!
I love, love, love these! I know 2 perfect people who will love receiving these for Christmas. It looks like one of those projects that you can do in the evening while watching Christmas movies 😉
I am obsessed with the holidays, too! Best time of year by far.