Easy DIY Succulent Wreath
Hi friends! How’s the day going?? I’m hope you’re having a wonderful afternoon. Liv is out of school, so we all went to play at Kid Ventures, grabbed coffee at Moniker, and are meeting up with friends for dinner tonight.
I wanted to share this DIY with you, because if I ever decide to do a craft project, it needs to be shared on the internets. I’m not the craftiest ever, and for me to create something, it needs to be super easy and foolproof. Otherwise it’s a Pinterest “nailed it” example.
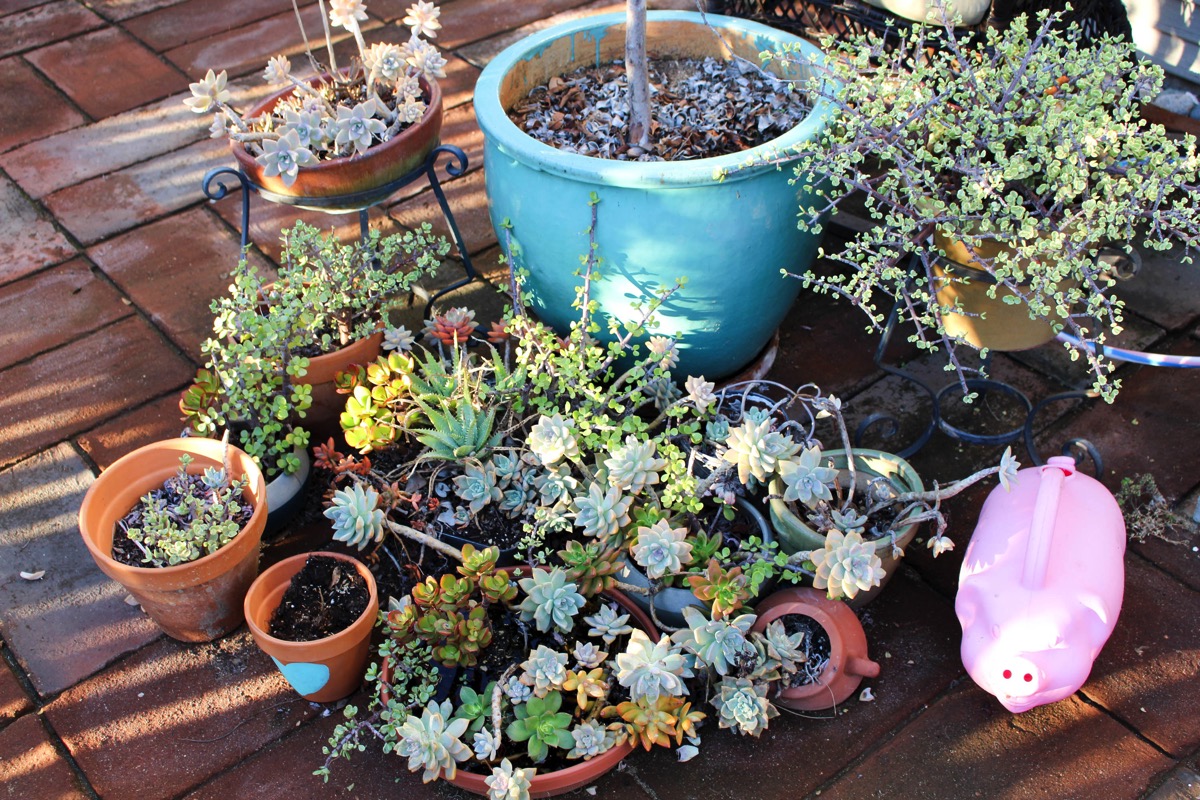
During the packing extravaganza, we were trying to figure out what to do with my succulent jungle. The thought of throwing them in the trash made me break into the dinosaur cry, so I figured I might be able to to find someone to adopt them. A friend from the barre studio, who also LOVES succulents, happily said she would take some off our hands. Since we’re taking a trailer to Tucson, turns out I can take some of them with us.
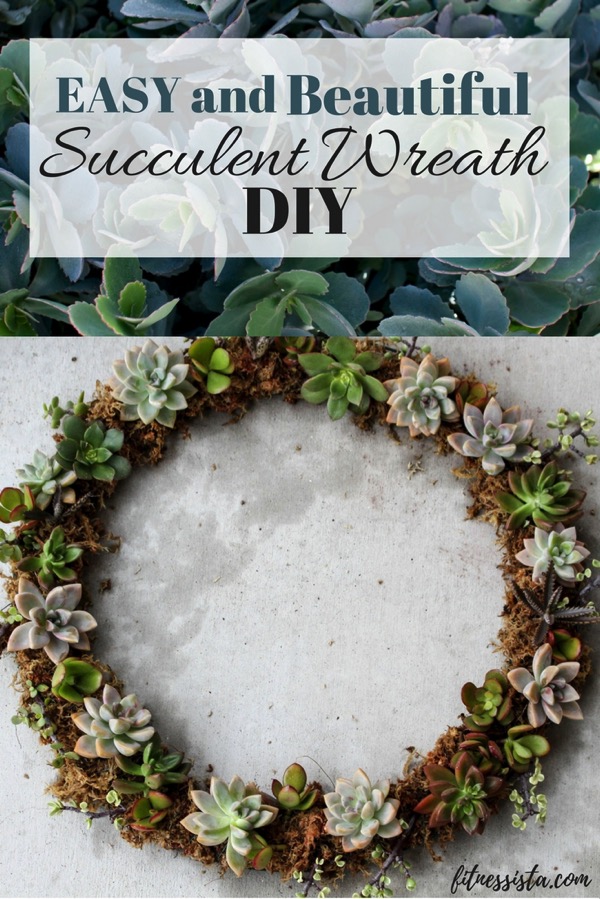
I was determined to do something with them in the event that I had to give them all away, and I knew immediately that a succulent wreath would be perfect. Turns out wreath-making hasn’t been a huge part of the agenda lately, since I’ve been scrambling with work stuff and to-dos.
So what’s a girl to do? Sneak outside when your husband thinks you’re packing and put a wreath together… very quickly. hahah.
How to Make a Succulent Wreath
Gather Supplies:
-Succulents (obv)
(It cost me less than $30 to make and I saw them on Etsy for $75. The only thing I would change is to find a thicker base so I could put more succulents in there.)
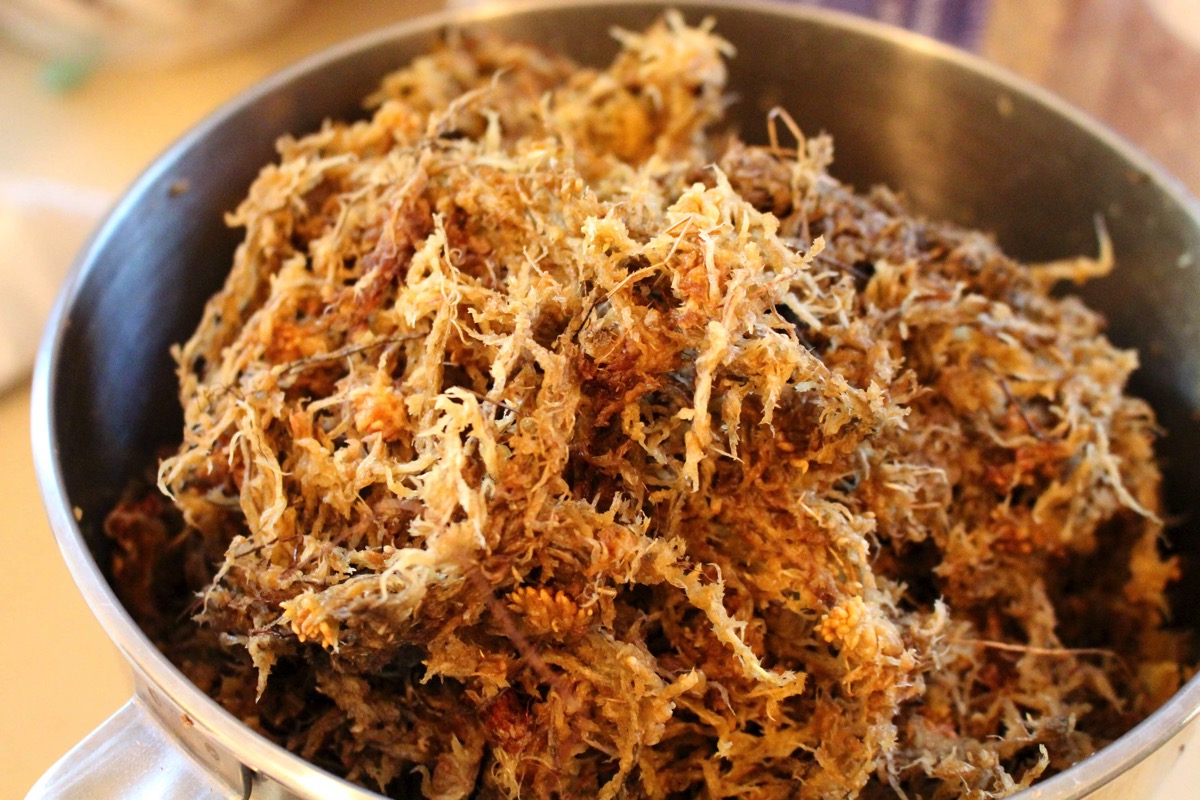
Step One: I soaked the moss for about 30 minutes while I was sorting through the kitchen. I was shocked to see how much water it sucked up! It was moist (hate that word), fluffy, and I could tell that it would give the perfect amount of hydration to the plants.
One of the beautiful things about succulents is that you can break them off and replant them easily. One of our biggest and most unique ones was a tiny plant nana brought for one of her visits in a paper cup. It skyrocketed and had little babies growing around it. This is one of the ones I had to include in the wreath, and I’ll also take with us.
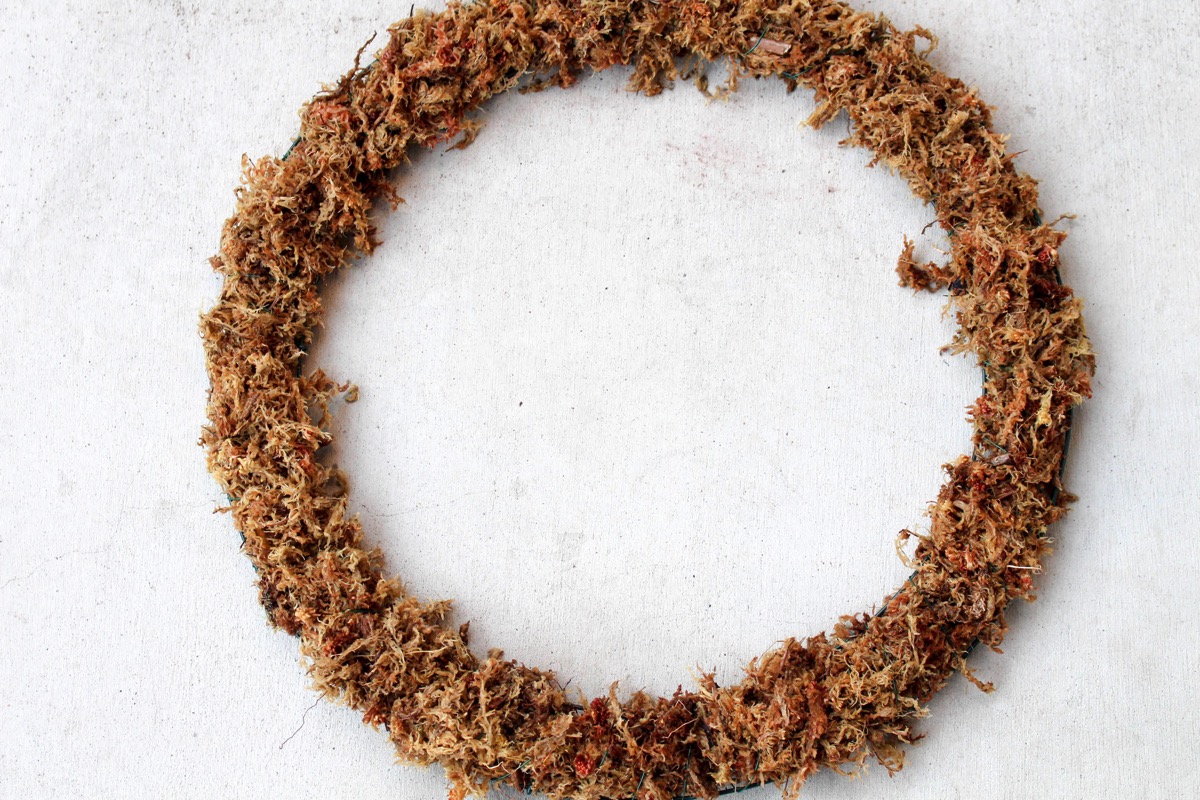
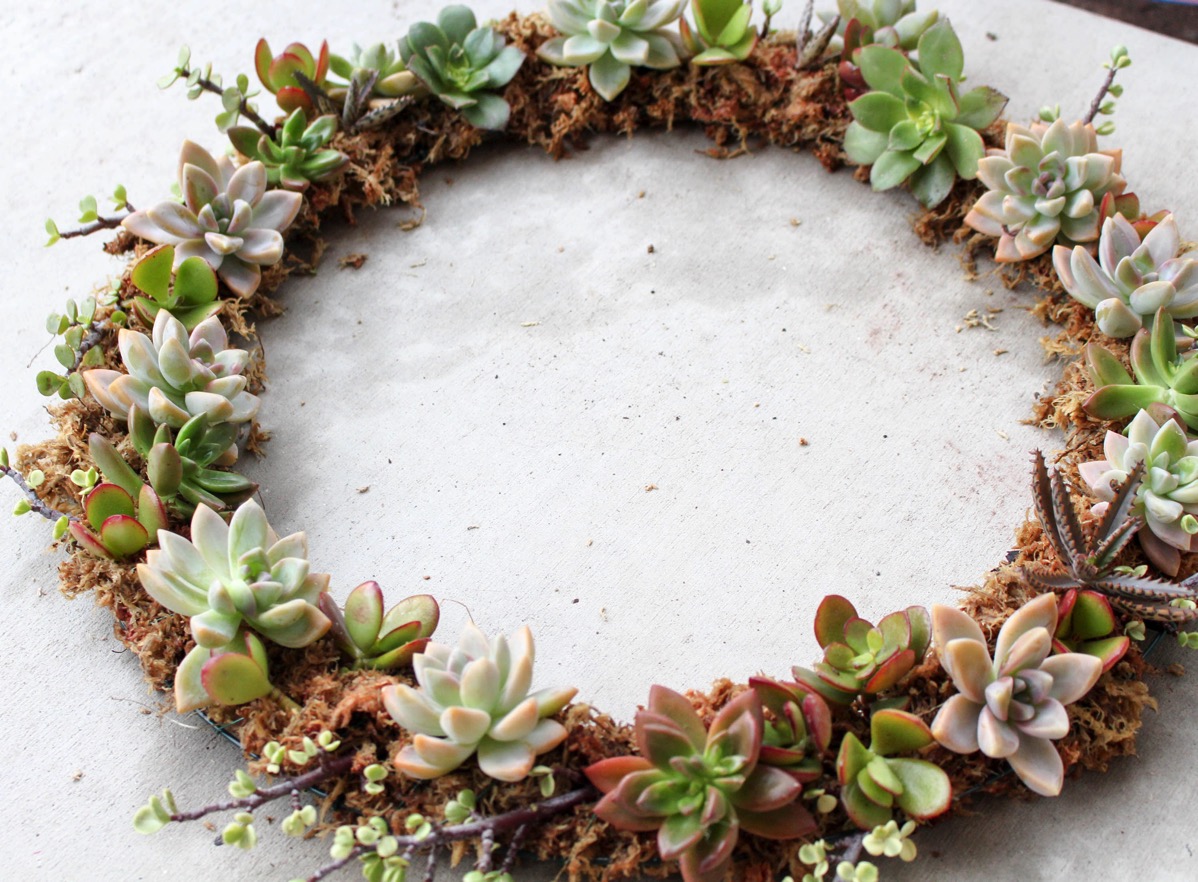
Step Two: I placed the wet moss onto the base, and using the floral wire, I secured it to the base by wrapping the wire around it as I went.
Step Three: Next, I cut off the succulents I wanted to use, and picked a few leaves off each one so I could push it into the moss.
Step Four: From what I’ve read, it’s best to let it lie flat for a couple of weeks until new roots can form. Then, ta-da! You have a living wreath that you can hang up, or use as a centerpiece.
I kind of waited until the last minute for these, but they would make awesome gifts! Next year, I’m going to make a bunch of smaller ones and add little holly berries, and use them as centerpieces with tiered candles. Gorgeous.
Any awesome holiday DIYs lately??
Here are some more faves if you’re looking for last-minute and inexpensive gifts:
xoxo
Gina






Wow, that looks so good! I’m really impressed! So pretty. I smiled to myself when I saw that under the supplies list you said floral wine instead of wire – I imagine you’ve got wine on the brain with all the moving/holidays stress 🙂 Good luck with the move – that’s such a big job! But it’ll get done and it’s so great that you’ll get to be in Tucson for the holidays.
LOL. wine is definitely on the brain!
hope you’re having a wonderful week <3
That is gorgeous, how do you water it later? Just a spray bottle?
spray bottle or you can soak the bottom for a little while once it gets dry
That is SO beautiful! Succulents are the only plant I can keep alive, so I definitely want to make this one day : )
so easy to make, too!
That is beautiful! What a cool idea!
thank you!